ADVERTISEMENT
Pour the brownie batter into the prepared baking pan and spread evenly using a spatula.
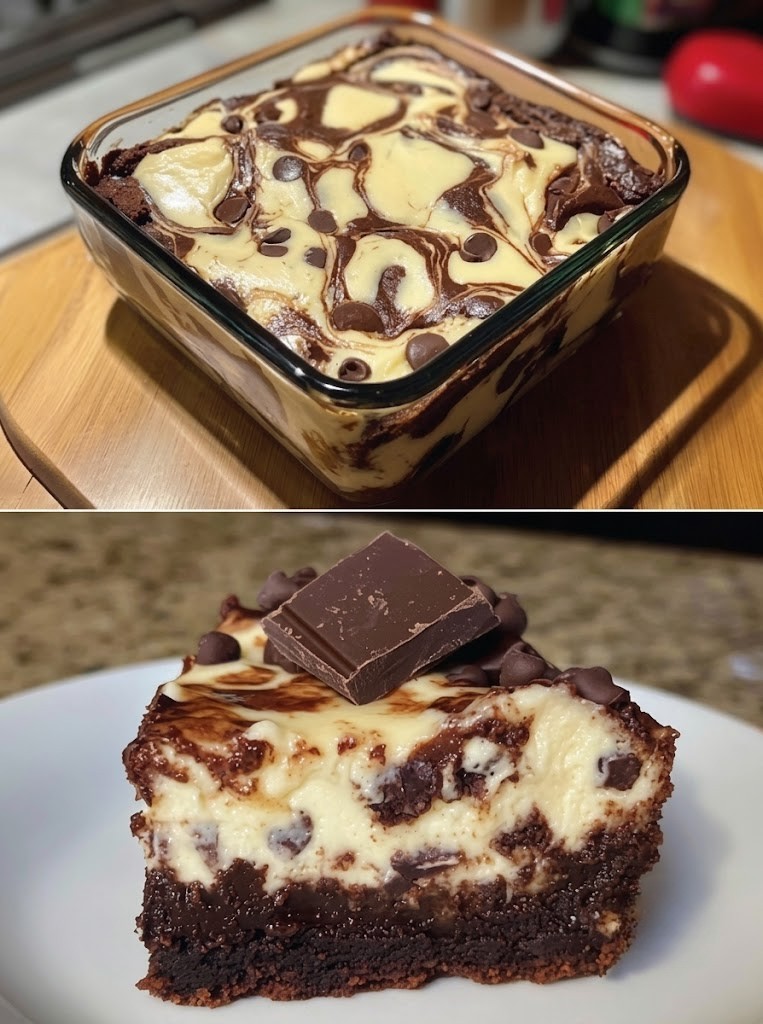
Next, pour the cheesecake mixture on top of the brownie layer.
Use a knife or skewer to gently swirl the cheesecake into the brownie base, creating a marbled effect. Avoid over-mixing so the layers remain distinct.
ADVERTISEMENT
Step 5: Bake the Brownies
Place the pan in the preheated oven and bake for 30–35 minutes.
Check for doneness:
- The edges should be set
- The center should be slightly soft but not liquid
- A toothpick inserted should come out with moist crumbs
Avoid overbaking, as keto brownies can dry out quickly.
Intensity Level: Low to Medium (requires monitoring oven)
Step 6: Cooling Process
Remove the brownies from the oven and let them cool in the pan for at least 30 minutes.
Then transfer to the refrigerator and chill for 2–3 hours. This step is crucial for setting the cheesecake layer and improving texture.
Step 7: Cutting and Serving
Once fully chilled, lift the brownies out using the parchment paper.
Cut into 9 or 12 squares using a sharp knife. Clean the knife between cuts for neat edges.
Serve cold or slightly chilled for best texture.
Flavor & Texture Profile
These Keto Cheesecake Brownies offer a luxurious dessert experience:
- The brownie layer is rich, dense, and deeply chocolatey
- The cheesecake layer is creamy, tangy, and smooth
- The swirl creates a visually appealing marbled effect
- Each bite melts in the mouth with balanced sweetness and richness
This dessert feels indulgent while staying low-carb.
Storage Instructions
- Refrigerator: Store in airtight container for up to 5–6 days
- Freezer: Freeze for up to 2 months (wrap individually for best results)
- Serving Tip: Let frozen brownies thaw in fridge overnight
Nutrition Information (Per Serving – 1 of 12 pieces)
See more on the next page to continue reading →
ADVERTISEMENT
ADVERTISEMENT