ADVERTISEMENT
Phase 1: Base Preparation (Intensity: Low)
Time: 5 minutes
-
-
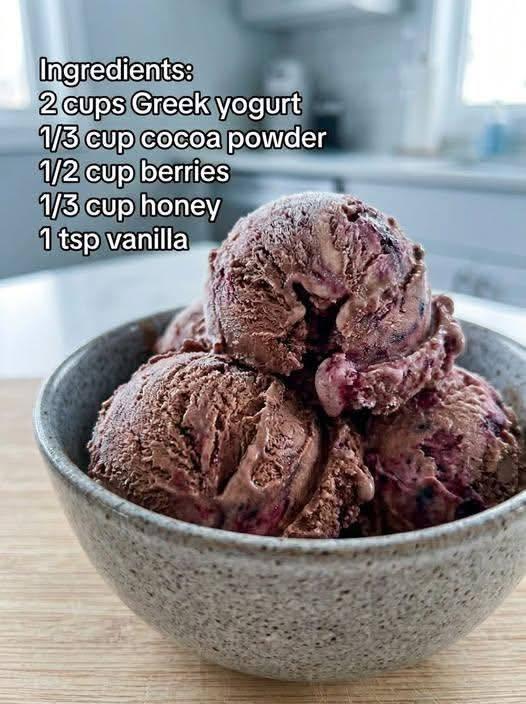
Whisk the liquid base – In a large mixing bowl, combine Greek yogurt, sweetened condensed milk, vanilla extract, honey (if using), and salt. Whisk vigorously until completely smooth and silky. No lumps.
-
-
Taste & adjust – The mixture should be pleasantly tangy but sweet. Add 1 more tablespoon of condensed milk if you prefer a milder tang.
-
Add mix-ins (optional) – Gently fold in berries, cocoa powder, or zest. Do not overmix if using fruit – it will release water.
Phase 2: First Freeze & Stir (Intensity: Medium Patience)
Time: 2 hours (active: 30 seconds every hour)
-
-
Pour into container – Transfer mixture into a shallow, freezer-safe metal or glass loaf pan. Metal freezes fastest and creates smoother texture.
-
-
-
Freeze uncovered for 1 hour – After 1 hour, the edges will start to harden, but the center will be slushy.
-
Stir vigorously – Use a fork or spatula to scrape frozen edges into the center and break up any ice particles. This is your “manual churn.”
-
Repeat every 45–60 minutes – Do this 3–4 times over the next 3 hours. Each stirring cycle reduces ice crystal size, creating creamier results.
-
Phase 3: Final Firming (Intensity: Zero)
Time: 2–4 hours or overnight
ADVERTISEMENT
-
After the 3rd or 4th stir – Smooth the top flat, cover tightly with plastic wrap or a lid, and freeze until solid (at least 2 more hours).
-
Softening before serving – Let the ice cream sit at room temperature for 5–10 minutes before scooping. This is critical – homemade yogurt ice cream freezes harder than store-bought.
 Storage & Shelf Life
-
-
Airtight container in freezer – Up to 2 weeks. After that, texture may become icy.
-
-
Prevent ice crystals – Press a piece of parchment paper directly onto the surface before sealing.
-
Do not refreeze after melting – The whey separates, leaving a grainy texture.
 Pro Tips for Perfect Texture
-
-
Use full-fat yogurt only – Low-fat = icy bricks. The fat coats ice crystals and keeps them small.
-
-
-
Condensed milk is non-negotiable – Its high sugar content lowers the freezing point, preventing rock-hard results.
-
Metal pan > ceramic – Metal conducts cold faster, reducing freeze time and ice formation.
-
Add 1 tablespoon of vodka or rum – Alcohol prevents iciness (optional, cooks off negligible amount). For kids, omit.
-
 Flavor Variations (Same Base Recipe)
| Variation | Add to Base | Intensity Change |
|---|---|---|
| Berry Swirl | ½ cup mashed raspberries + 2 tbsp sugar | Low – fold after 1st freeze |
| Chocolate Fudge | 3 tbsp unsweetened cocoa powder + 2 tbsp melted dark chocolate | Low – whisk into base |
| Lemon Curd | ¼ cup lemon curd + 1 tsp lemon zest | Medium – swirl after 2nd stir |
| Honey Walnut | 3 tbsp honey + ¼ cup crushed walnuts | Low – add walnuts at last stir |
| Mango Lassi | ½ cup mango purée + pinch cardamom | Low – replace ¼ cup yogurt with purée |
 Troubleshooting: What Went Wrong?
Problem: Ice cream is rock solid after freezing.
Fix: You skipped stirring cycles. Let it thaw 15 minutes before scooping. Next time, stir every hour.
Problem: Icy, grainy texture.
Fix: Your freezer temperature fluctuates (or you used low-fat yogurt). Store in the back of the freezer, not the door.
Problem: Tastes too tart.
Fix: Add 2 more tablespoons of sweetened condensed milk next time. Serve this batch with honey drizzle.
 Serving Suggestions
-
In a cone – With a sprinkle of cinnamon.
-
Parfait style – Layer with granola and fresh blueberries.
-
Affogato – Pour a shot of hot espresso over one scoop.
-
Sandwich – Between two chewy chocolate cookies.
 Recipe Card (Printable Summary)
See more on the next page to continue reading →
ADVERTISEMENT
ADVERTISEMENT